
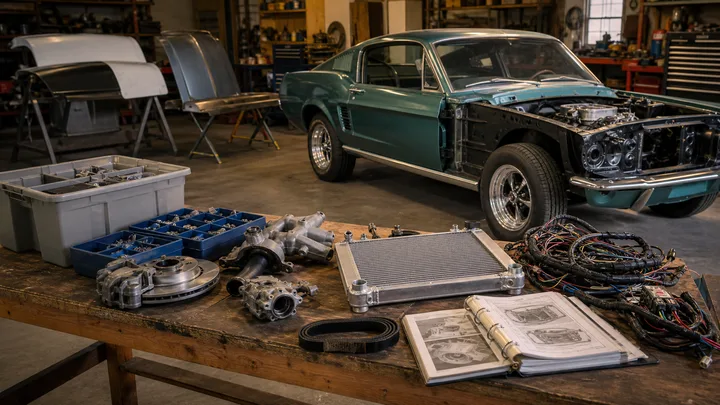
Start a 1967 Mustang restoration by finding out what the car needs and choosing one manageable stage. Document the starting condition, assess safety and structure, and agree on the work before ordering parts. Keep the budget tied to written quotes and the actual car.
Decide what finished means for you
A dependable weekend driver, a return to factory specification, and a modified build need different decisions. Write a few sentences about how you want to use the car, which changes you want to retain, and what you can spend on the next stage.
Photograph the car and record the equipment fitted now. Keep unknown details separate from verified records. If you have just brought it home, the first-month guide breaks this into short sessions.
1. Arrange an assessment before driving or dismantling
Have a qualified person assess brakes, steering, tires, suspension, fuel leaks, wiring, and structural condition. Agree on what is safe to operate and how the car should be moved. Structural concerns belong in this first assessment, even when the detailed repair plan comes next.
Leave this stage with: a list of findings, the questions still open, and a plan for the next inspection or repair. Avoid buying a general “refresh kit” before you know which components need work.
2. Understand the structure and any water damage
Ask the body specialist to explain the condition of the cowl, floors, rockers, rails, torque boxes, shock towers, and previous repairs. Trace water entry before covering the affected area with new materials.
Agree on the repair scope, replacement panels, access needed, and how the work will be photographed before it is covered. Discuss panel fit and related work before paint or upholstery is ordered.
Leave this stage with: an agreed repair plan and an explanation of what further dismantling could reveal. A visible patch is not enough information to guess the complete cost.
3. Make the existing mechanical systems dependable
Use the findings to plan engine, transmission, cooling, fuel, ignition, charging, and brake work. Ask for diagnosis before replacing parts. A symptom such as overheating can have more than one cause.
For each task, write down the equipment actually fitted, the approved part numbers, and the service information the installer will use. The licensed 1967 Ford shop manual sample helps identify the manual’s coverage; modifications may require additional documentation.
Leave this stage with: recorded repairs and the checks your shop has completed, plus a clear explanation of any remaining operating limits.
4. Plan the interior and finish around completed repairs
Confirm that the relevant metalwork, leaks, and concealed wiring have been addressed before covering them. Review the 1967 paint and interior codes, then approve physical material samples with the supplier.
Keep removed hardware labeled by location. Record the parts, clips, seals, and fittings needed for a complete job. Discuss trial fitting and finishing order with the installer.
When you are ready to price an interior order
CJ Pony Parts’ Mustang catalog · Affiliate is a starting point for comparing upholstery, trim, and seals. Confirm the 1967 body style, installed seats, included hardware, and return conditions. We may earn a commission if you buy through this link, at no extra cost to you.
How much will the restoration cost?
A useful answer starts with an inspected car and a defined job. We do not have a current local quote for your project. Separate the costs you know from allowances and unanswered questions; broad internet totals cannot resolve hidden damage or local labor rates.
- Describe the same scope to each shop. Include photographs, the desired result, and what you are supplying.
- Compare complete totals. Check parts, labor, preparation, tax, freight, and required supplies. Mark excluded or unstated items.
- Agree on extra work. Record who approves changes and how the cost and expected completion date will be updated.
- Track commitments as well as payments. A deposit does not represent the whole amount you have approved.
Replace “finish the interior” with a job you can price
Try: “Confirm which left-door seal fits, quote the complete order and installation, and explain whether any related repair is needed first.” You can send photographs, compare answers, and decide whether to proceed.
This planning example does not prescribe a repair. The job and method need to fit the actual findings.
Sources and review notes
Sources and coverage
Page updated: September 7, 2026
Organize the next stage of work before buying parts.
- The sequence and planning examples help define a job and a budget. They are not repair procedures or shop quotes.
- Use the correct service manual for specifications, and have the person doing the work confirm the required parts.
References and related guides
Found an error? Send the page link and a source for the correction.